This article will teach you how to create an R&D menu item. R&D menu items are not yet final until published.
This article is applicable to all chefs
TABLE OF CONTENTS
- Step 1: Click on RND Masterfile
- Step 2: Click on RND Menu List
- Step 3: Click on Add Data
- Step 4: Input RND Menu Details
- Step 5: Input Ingredients
- Step 6: Input Ingredient Details
- Step 7: Click Save
- Step 8: Click on Food Tasting
- Step 9: Click on Publish
Step 1: Click on RND Masterfile

Step 2: Click on RND Menu List

Step 3: Click on Add Data

Step 4: Input RND Menu Details

Input a temporary description, SRP, and concept for the product peg.
Step 5: Input Ingredients

Click on Add Existing Ingredient when using existing ones, batching items, or other menu items
Click on Add New Ingredient when using new ones. Please refer to the Add New Ingredient Page for information on how to add New Ingredients.
Step 6: Input Ingredient Details
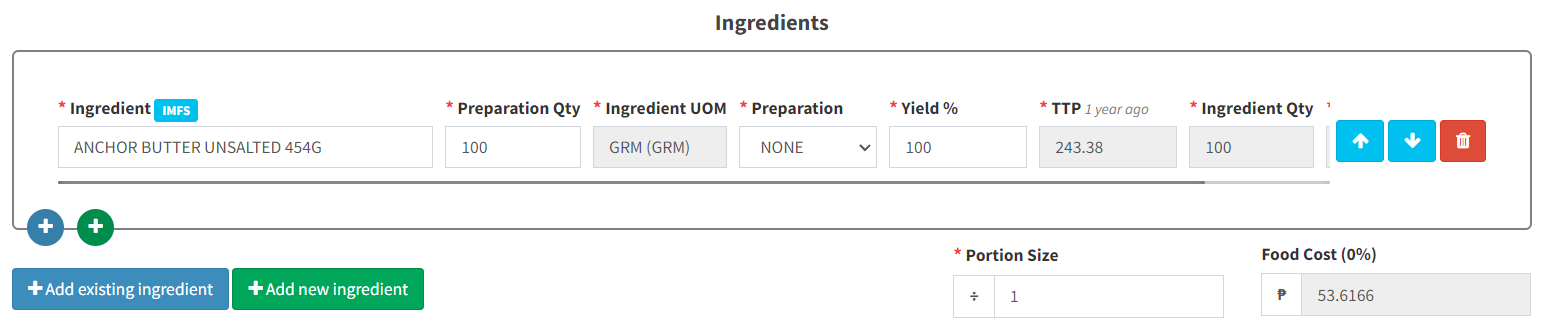
Preparation Qty = Quantity of Ingredient
Ingredient UOM = Unit of Measure
Preparation = How the Ingredient is prepared or cooked
Yield % = How much of the actual ingredient is usable after preparation
TTP = Tasteless Price
Ingredient Qty = How much of the ingredient is needed to be procured based on actual yield
Portion Size = How many people is this good for
Step 7: Click Save

This will save your work as a draft. Only the chef will be able to see this.
Step 8: Click Food Tasting

When your menu item is ready for Food Tasting, click on this button to send it out to the marketing head. You may view their comments on the chat box provided.
Step 9: Click on Publish
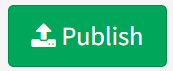
Click on Publish if your item has been approved by the Marketing Head.